
In the previous articles we discussed how to install AX basic components and initialization checklist. Today we are going to discuss how to import AX Demo Data. Before we can import the demo data we need to prepare the prerequisites. Two prerequisites are required. Download the demo data, and Test Data Transfer Tool.
Please follow the following steps
1- From the PartnerSource go to Microsoft Dynamics AX 2012 R3 page then Click Demo Material Link.

2- in the demo Material Table click the Contoso Demo Data.

3- from the Microsoft File Transfer Manager select the download path then click the Transfer button.

4- Go back to the Demo Material Table then from the description click the Test Data Transfer Tool (beta) to download the tool installer from the Downloadable tools section of Microsoft Dynamics Lifecycle Services.

5- Loging to the Microsoft Dynamics Lifecycle Services then click the Downloadable Tools.

6- Download the Microsoft Dynamics ax 2012 Test Data Transfer Tool.

7- Double Click the Contoso Demo Data file, then press accept button from the installer.

8- Select the path then click Install (Extract the demo data from the package to the database server that hosts the AX 2012 R3 business database for your environment).

9- after that we need to install Test Data Transfer Tool. Double Click the Test Data Transfer Tool installer file. when the installer start Click Next Button.

10- Select the Accept check box then click Next.

11- Select the path then click next. (Please remember this path you will need it latter).

12- Click Install button.

13- Click Finish button.

14- Go to Control Panel > Services, stop the AOS instance associated with your environment.

15- Using Windows Explorer, browse to the Test Data Transfer Tool (beta) folder.

16- On the File menu in Windows Explorer, click Open command prompt as administrator.

17- Open the SQL Server Management studio, write down the instance name.

18- Backup MicrosoftDynamicsAX Database, in case anything goes wrong.
19- At the command prompt, enter the following command to import the demo data: dp.exe import [location of demo data] [Name of AX business database] [Servername\InstanceName]. in our case the command will look like this
dp.exe import e:\demodataMicrosoftDynamicsAXR3DemoData MicrosoftDynamicsAX SHAFEAA then press Enter.

20- Enter y or Y then press enter. Import process will Start (It may take over 30 minutes to import the demo data.)

21- when the import process finished go to Control Panel > Services, start the AOS instance associated with your environment.

22- Open Dynamics AX
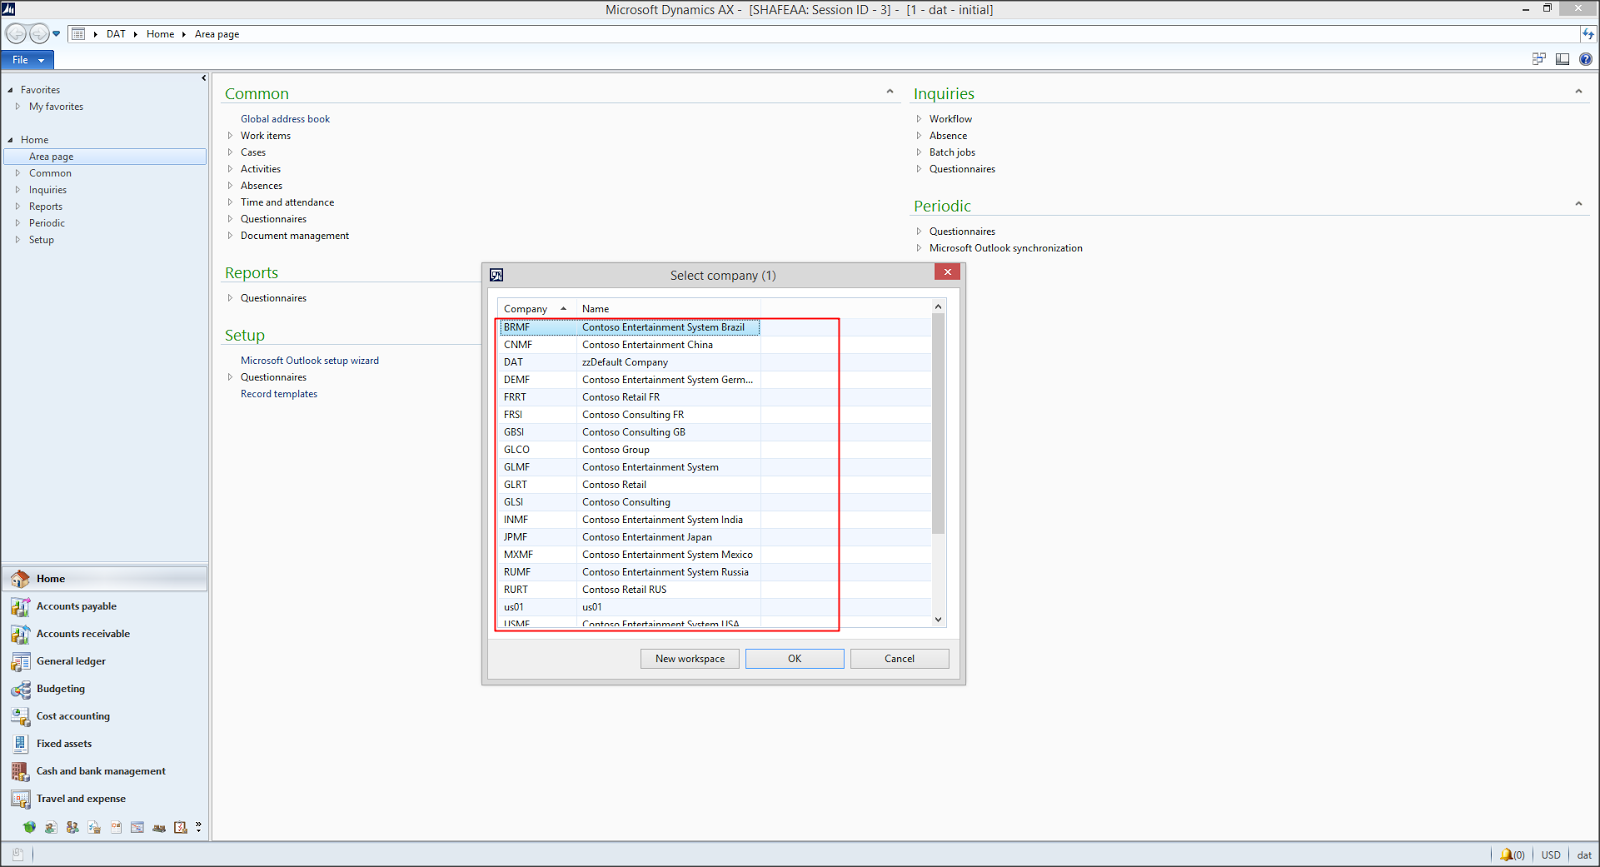
Congratulation, the demo data have been imported.
See Also
Install Dynamics AX 2012 R3 Step by Step (Step 2)(initialization checklist)
To get new posts and updates, please follow the blog by clicking the Join this site Button in the top-right side under my personal information
Install Dynamics AX Without Having Real Domain
To get new posts and updates, please follow the blog by clicking the Join this site Button in the top-right side under my personal information