
To know how to do it please follow the below steps:
1-This is the problem we face when trying to install without being connected with domain

2-Starts by adding "Virtual Switch Manger" in the hyper-v Manager

3-Create External Switch from the "Virtual Switch Manger"

4-Import Dynamics AX VM. (If You don't know how to import Dynamics AX VM please review Click Here).

5-From the VM Settings form Select Network Adapter then press the add button.
Then select the External Network Adapter that we created previously and press apply button.

6-Start the VM and login then go to the VM Network connection. select the connection and open the properties screen. Double click on the internet Protocol Version 4.

7-Notice that the VM IP Address does not exist within your network.

8-Do the following:
a- change the IP Address to be within your network(Remember this IP you will need it later).
b- Use 255.255.255.0 within the subnet mask.
c- Use you router IP with the Default gateway.
d- In the Preferred DNS Server use the same IP address that you use in step a.
e- In the alternate DNS Server use the same IP address that you use in step c. then press ok

9-After we finished the VM network setup. We need to do the same thing with the host network(your PC). minimize the VM windows and go back to your desktop.
10- Now go to your PC Network Connections then open the properties windows for the external connection.
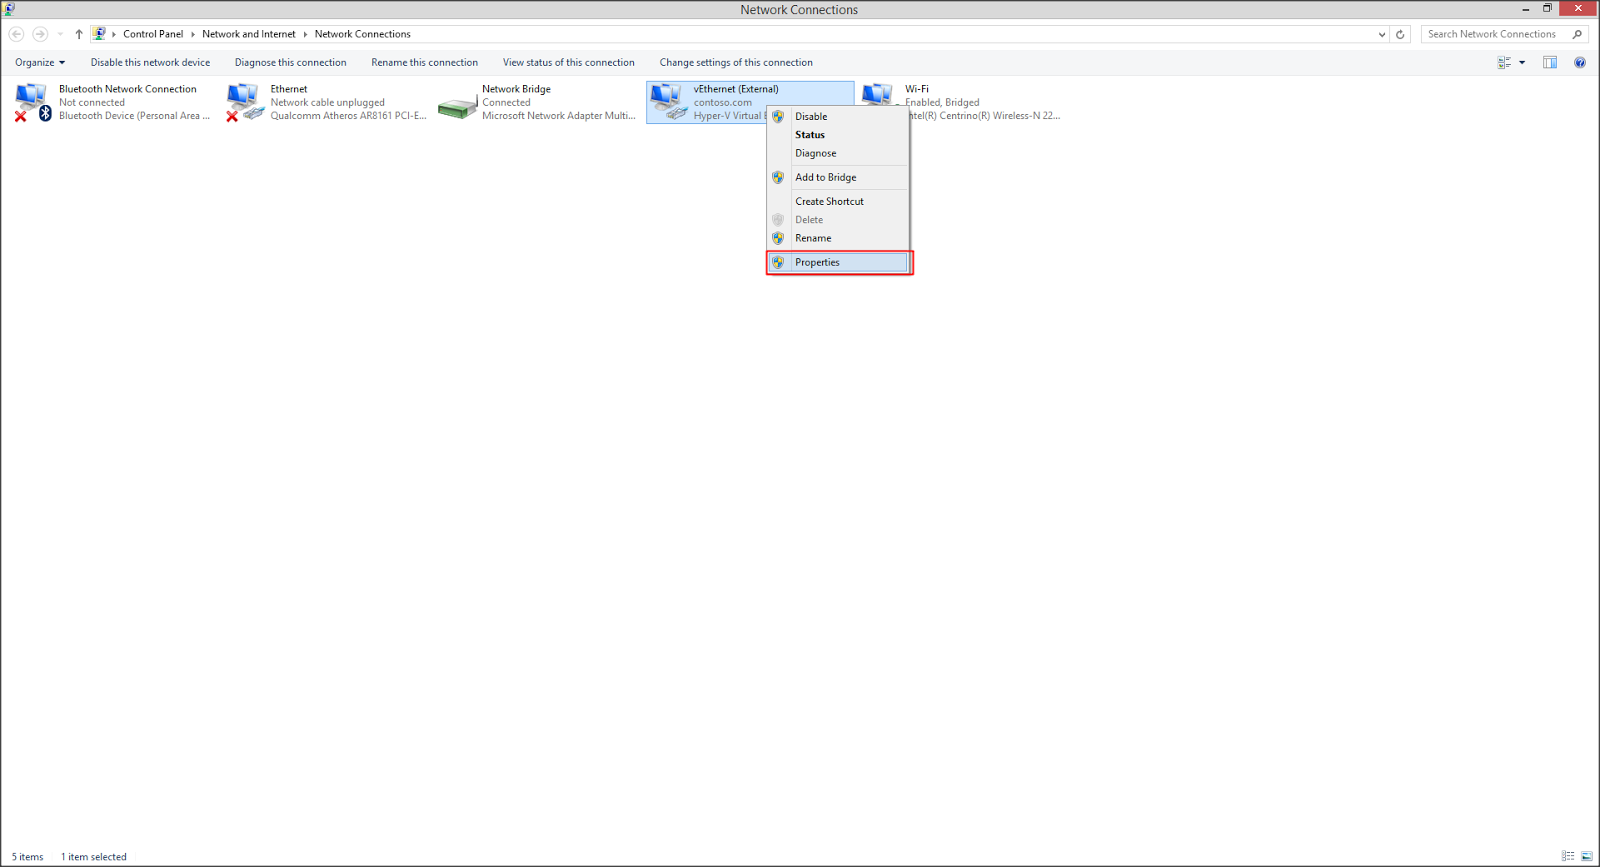
11-Double click on the internet Protocol Version 4. Do the following:
a- Select "Use the following IP Address" then change the IP Address to be within your network.
b- Use 255.255.255.0 within the Subnet mask.
c- Use you router IP with the Default gateway.
d- In the Preferred DNS Server use the same IP address that you assigned to the network connection in the VM.
e- In the alternate DNS Server use the same IP address that you use in step c. then press Ok.

12- Now run the system proprietaries windows in the host (Your PC). And Click the Change Button.

13- Write CONTOSO in the Domain field. Then Press OK.

14- The system will prompt to enter username and password with permission to join the domain. use "Administrator" as a username and "Pass@word1" for password. Then Click OK Button.

15- If everything going right the a welcome screen will appear. Press OK.

16- Restart The System.

17- Now we need to create a domain user to use during the AX installation process. To do that login to the VM and open the Active Directory Users and Computers. then add New user.

18- Click Next.

19- Assign the user password and click next.

20- Click Finish Button.

21- Select the new user and open the proprieties windows.

22- Add the User to the administrator group. minimize the VM.

23- now in the Host (Your PC) Press Alt + Ctrl + Delete then select "Switch User", Login to the domain user that we created previously.
24- Run the Dynamics AX Setup.Then select Validate System Requirements.

25-Select The Component and press validate.
26- Congratulation, the domain user account success. Now you can continue AX installation smoothly.

See Also
How to setup the Dynamics AX Virtual Machine.